

How To Buy Windows Server 2019
This browser is no longer supported.
Upgrade to Microsoft Edge to take advantage of the latest features, security updates, and technical support.
Upgrade Windows Server 2016 to Windows Server 2019
If you lot want to keep the aforementioned hardware and all the server roles you lot've already fix without flattening the server, you'll desire to do an in-place upgrade. An in-identify upgrade allows you to go from an older operating system to a newer ane, while keeping your settings, server roles, and information intact. This article helps you lot to motion from Windows Server 2016 to Windows Server 2019.
Before y'all begin your in-identify upgrade
Before yous start your Windows Server upgrade, we recommend that you lot collect some information from your devices, for diagnostic and troubleshooting purposes. Because this information is intended for use only if your upgrade fails, you must make sure that you store the information somewhere that you lot can get to it off of your device.
To collect your info
-
Open up a command prompt, go to
c:\Windows\system32, and then type systeminfo.exe. -
Re-create, paste, and store the resulting system data somewhere off of your device.
-
Type ipconfig /all into the command prompt, and then re-create and paste the resulting configuration information into the same location every bit above.
-
Open the Registry Editor, get to the
HKEY_LOCAL_MACHINE\SOFTWARE\Microsoft\Windows NT\CurrentVersionkey, and and so copy and paste the Windows Server BuildLabEx (version) and EditionID (edition) into the aforementioned location as to a higher place.
After you've collected all of your Windows Server-related information, we highly recommend that you backup your operating organization, apps, and virtual machines. You must too Shut down, Quick drift, or Live drift whatever virtual machines currently running on the server. You can't have any virtual machines running during the in-place upgrade.
To perform the upgrade
-
Make sure the ProductName value says y'all're running Windows Server 2016.
-
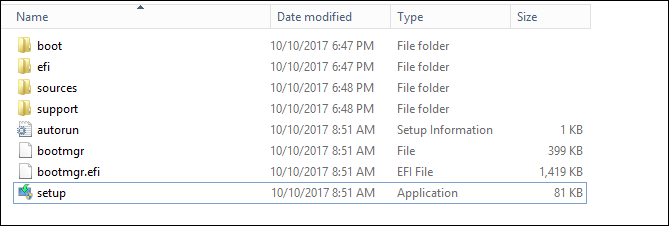
Locate the Windows Server 2019 Setup media, so select setup.exe.
-
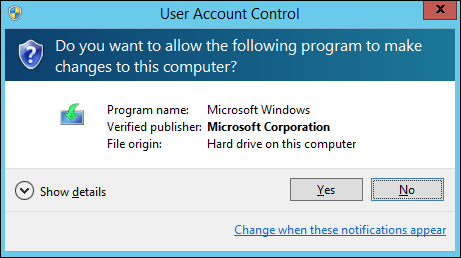
Select Aye to first the setup procedure.
-
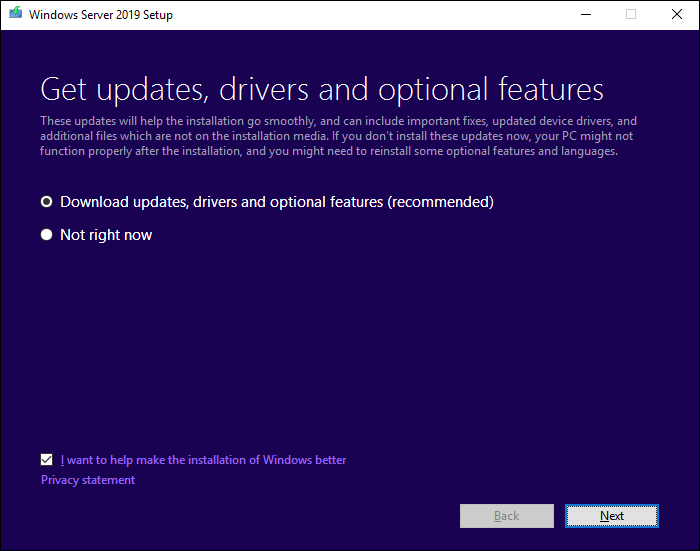
For cyberspace-connected devices, select the Download updates, drivers and optional features (recommended) selection, and then select Next.
-
Setup checks your device configuration, you must await for information technology to stop, and then select Next.
-
Depending on the distribution channel that you lot received Windows Server media from (Retail, Volume License, OEM, ODM, etc.) and the license for the server, you may exist prompted to enter a licensing key to continue.
-
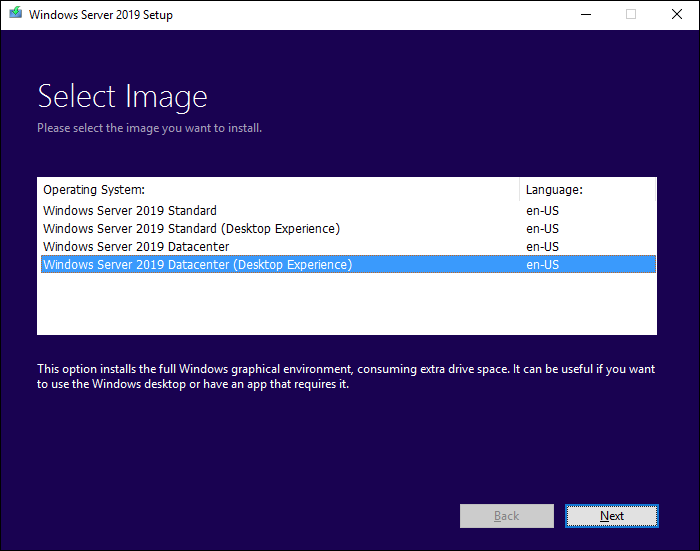
Select the Windows Server 2019 edition you want to install, and and then select Side by side.
-
Select Accept to accept the terms of your licensing agreement, based on your distribution aqueduct (such every bit, Retail, Volume License, OEM, ODM, and and so on).

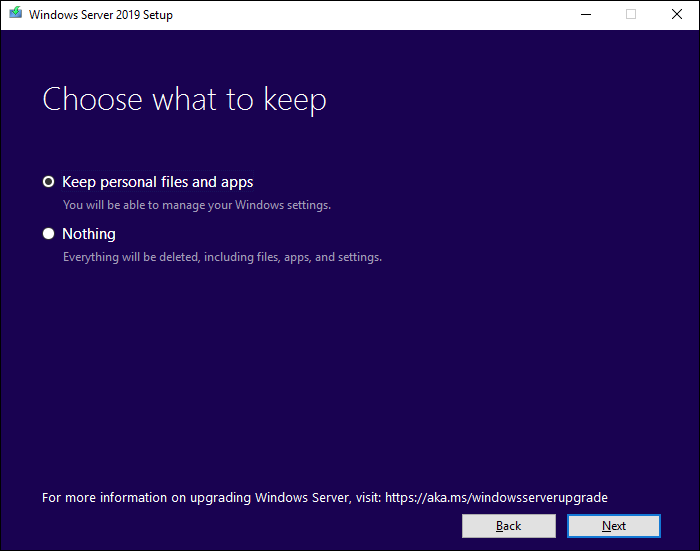
-
Select Go on personal files and apps to choose to practice an in-place upgrade, and and then select Next.
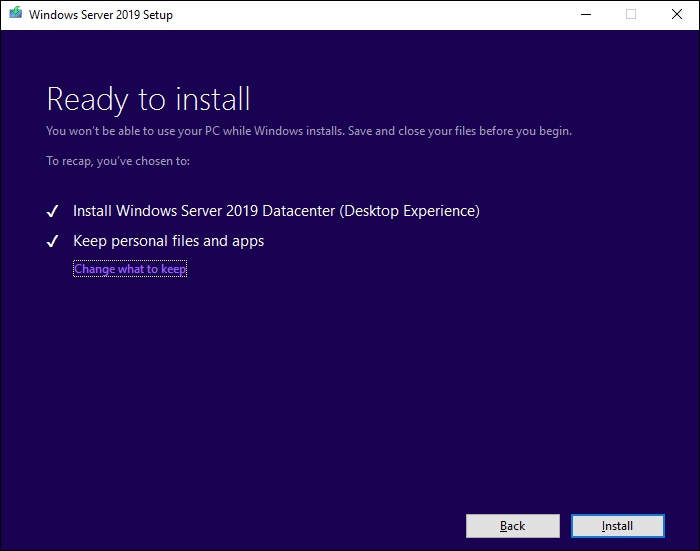
-
After Setup analyzes your device, it will prompt you to proceed with your upgrade by selecting Install.
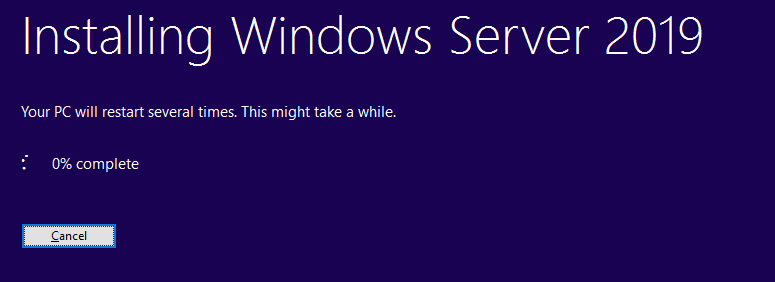
The in-place upgrade starts, showing yous the Upgrading Windows screen with its progress. After the upgrade finishes, your server will restart.
After your upgrade is done
Later your upgrade completes, you must brand sure the upgrade to Windows Server 2019 was successful.
To brand sure your upgrade was successful
-
Open the Registry Editor, go to the
HKEY_LOCAL_MACHINE\SOFTWARE\Microsoft\Windows NT\CurrentVersionfundamental, and view the ProductName. You should run across your edition of Windows Server 2019, for example Windows Server 2019 Datacenter. -
Make sure all of your applications are running and that your client connections to the applications are successful.
If yous think something might accept gone wrong during your upgrade, copy and zippo the %SystemRoot%\Panther (normally C:\Windows\Panther) directory and contact Microsoft back up.
Feedback
Submit and view feedback for
Source: https://docs.microsoft.com/en-us/windows-server/get-started/upgrade-2016-to-2019
Posted by: wallswhiden.blogspot.com
0 Response to "How To Buy Windows Server 2019"
Post a Comment